
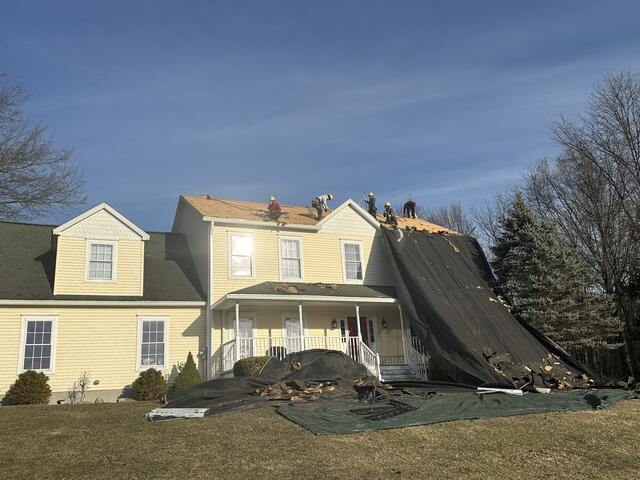
Removing Old Shingles Off The Roof
The first step in the roof replacement process is setting up large protective tarps around the home and yard. These tarps catch falling shingles and debris, helping prevent any damage to the siding, windows, or landscaping. As shown here, the shingles slide down the tarp where the crew collects the debris and loads it into wheelbarrows to be hauled off to the dumpster, keeping the property clean and protected throughout the project.
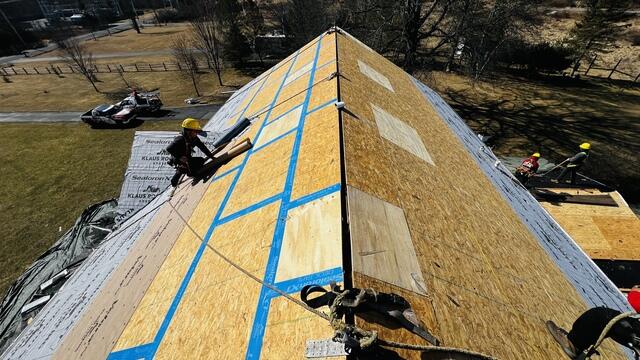
Installing The Ice&Water Shield
After the old roofing is removed, our crew inspects the plywood decking and replaces any damaged boards to create a strong foundation. In this photo, the fresh new plywood stands out against the existing structure. The blue SealoronXT Deck Tape seals the seams between the boards, adding an extra layer of protection. Along the edges of the roof, the white SealoronXT Ice & Water Shield is installed to protect the most vulnerable areas from potential water damage. The remaining exposed decking will be covered with the tan VeloraOne Roof Underlayment, ensuring the entire surface stays dry and secure beneath the shingles.
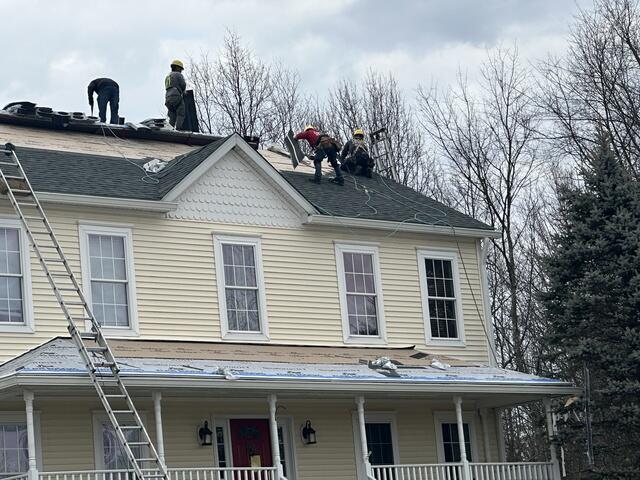
Installing The IKO Shingles
At this stage of the project, all protective sealants have been installed, and the crew is working on the final touches. This includes laying the shingles, securing permanent boots, installing ridge vents, and making sure every detail is finished to perfection before the roof is complete!
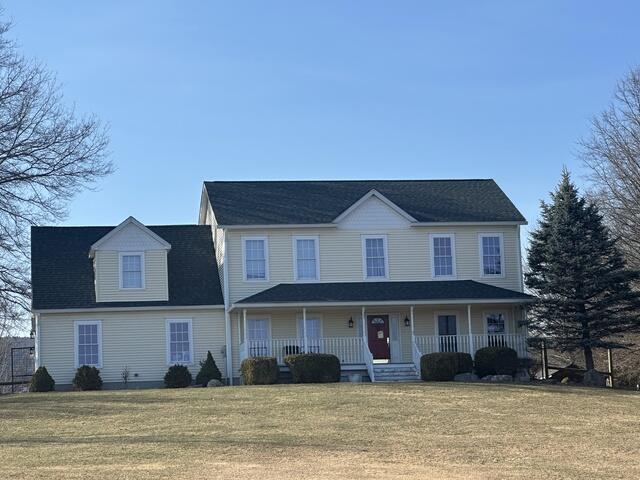
The Final Product
This photo highlights the finished roof, featuring brand new IKO Dynasty shingles in the color Emerald Green. The bold, polished look gives the home a refreshed appearance while providing top-tier protection, backed by a 50-year warranty for lasting peace of mind.
